
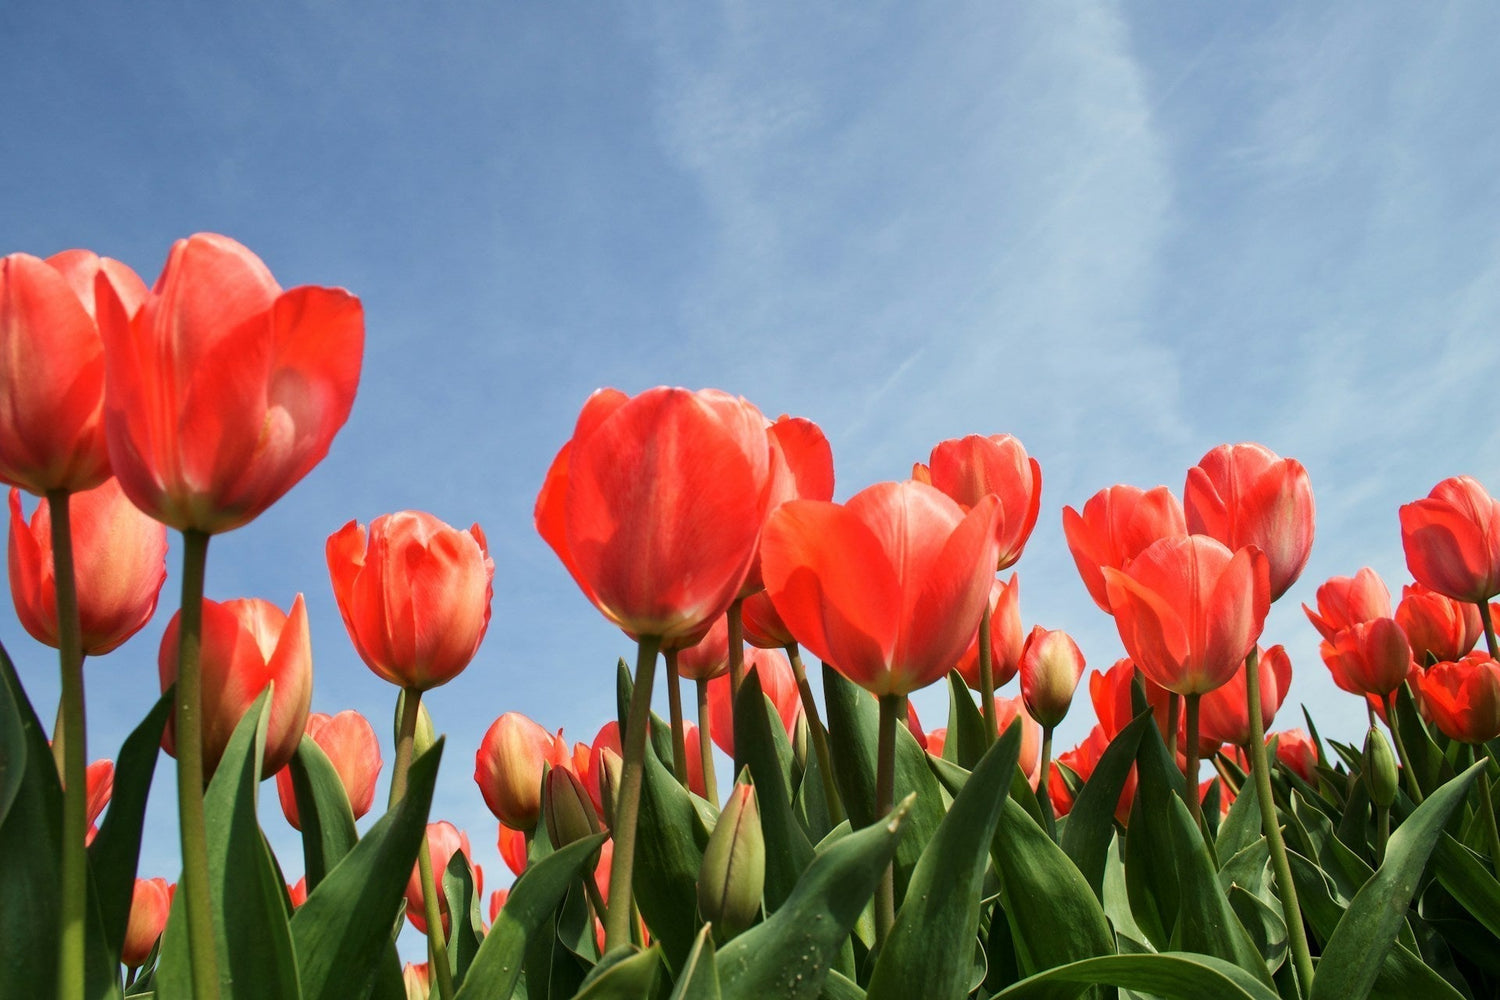
Spring Bulb Planting Guide
Missed the fall planting window? Learn what spring-planted tulips can still do, how to plant bulbs correctly, and how to turn spent tulip foliage back into garden value.
Tulips reward patience. Spring planting may not always give same-year flowers, but healthy bulbs, good drainage, correct depth, and post-bloom care can still help you build next season’s display.
Plant smart. Let foliage feed the bulb. Compost the healthy leftovers.
Plant smart, then compost the cycle.
Quick Answer
Yes, you can plant tulip bulbs in spring once the soil is thawed and workable, but they may not bloom the same year unless the bulbs were pre-chilled or forced indoors first.
For the best results, tulips are usually planted in fall after nighttime temperatures cool. If you plant in spring, focus on healthy bulbs, good drainage, correct depth, and post-bloom care so the bulbs can store energy for next season.
For related garden routines, read how to fertilize your garden in spring, how to compost cut flowers, and how to use GEME compost safely.
Key Takeaways
- Fall is the ideal tulip planting season. Tulips need a cold period to root and bloom well.
- Spring planting is still possible. Plant as soon as the soil is workable, but expect foliage first and flowers later.
- Pre-chilled bulbs improve your odds. They are the better choice if you want same-year spring blooms.
- Drainage matters. Tulip bulbs can rot in soggy soil.
- Do not cut green foliage too early. Leaves feed the bulb for next year’s display.
- Spent tulip leaves and petals can be composted. Compost only healthy plant material and avoid diseased or chemically treated waste.
- GEME Terra II and GEME Pro have no filter replacements and zero recurring filter costs.
Jump To
Spring Has Arrived. Is It Too Late for Tulips?
If you are holding a bag of tulip bulbs in spring and wondering whether you missed your chance, you are not alone. Tulips are traditionally planted in fall, but spring planting can still be useful if you understand the limits.
The main issue is chilling. Tulips usually need a cold period before they bloom well. That is why fall planting gives them time to root through cool weather and prepare for spring flowers.
If you missed fall planting, you still have options: plant the bulbs for next year, choose pre-chilled bulbs, force bulbs indoors, or plant summer-flowering bulbs that are naturally suited to spring planting.
This spring bulb routine also connects with broader garden care: spring fertilizing, composting cut flowers, and home composting after the bloom cycle ends.
Beginner truth: Spring-planted tulips may not bloom immediately, but healthy bulbs planted correctly can still become part of next year’s garden.
1. When to Plant Tulip Bulbs for Best Results
The best time to plant tulip bulbs is usually in fall, after the soil cools but before the ground freezes. In many northern regions, that means September or October. In warmer southern regions, planting may shift later into November or December.
The key is soil temperature and night temperature. Tulips should root in cool conditions, but they should not be pushed into soft top growth too early.
Can You Plant Tulips in Spring?
Yes. Plant tulip bulbs in spring as soon as the ground thaws and becomes workable. However, without enough chilling, they may only produce foliage in the first season and bloom the following year.
Same-Year Bloom Tip
For the best chance of same-year blooms, use pre-chilled bulbs or force bulbs indoors first. Ordinary dry bulbs planted late in spring often need another season before flowering.
2. Choosing the Right Tulip Bulbs
Healthy bulbs are the foundation of a strong tulip display. Before planting, inspect each bulb carefully.
- Choose firm bulbs. Avoid soft, mushy, moldy, or shriveled bulbs.
- Go larger when possible. Larger bulbs often produce stronger first-season flowers.
- Use pre-chilled bulbs in warm climates. Tulips need a cold period to bloom properly.
- Avoid damaged bulbs. Cracks, rot, and strong odor can signal poor viability.
If you live in a mild winter climate, choose varieties suited to your region or buy pre-chilled bulbs from a reliable supplier.
3. How to Plant Tulip Bulbs Step by Step
Step 1: Select the Location
Tulips prefer full sun and well-drained soil. Sun helps create sturdy stems and strong color, while drainage prevents bulb rot.
If your soil is heavy clay, improve it before planting with compost and other drainage-supporting amendments. For broader soil use after composting, follow the advanced GEME compost application guide. Avoid spots where water stands after rain.
Step 2: Determine Depth and Spacing
A practical rule is to plant bulbs about two to three times as deep as the bulb is tall. For standard tulip bulbs, that often means about 6 inches deep from the soil surface to the bottom of the bulb.
Space large tulip bulbs roughly 4 to 6 inches apart. For a fuller naturalized look, you can plant clusters rather than straight lines.
Step 3: Plant the Bulbs
- Loosen the soil to about 12 inches deep.
- Dig individual holes or a planting trench.
- Place each bulb with the pointed end facing up.
- Cover with soil and press gently.
- Water thoroughly to settle the soil.
- Add a light mulch layer to moderate temperature and moisture.
Quick Planting Reference
| Planting Factor | Tulip Guidance | Why It Matters |
|---|---|---|
| Light | Full sun preferred | Supports strong stems and blooms. |
| Soil | Well-drained soil | Prevents bulb rot. |
| Depth | About 6 inches for standard bulbs | Protects bulbs and supports rooting. |
| Spacing | About 4–6 inches apart | Allows airflow and room for growth. |
4. Bulbs to Plant in Spring
Tulips are usually fall-planted spring bloomers. If you want flowers from bulbs planted in spring, consider summer-blooming bulbs and tubers that naturally go into the ground after frost risk passes.
| Bulb / Tuber Type | Bloom Time | Typical Planting Depth | Typical Spacing |
|---|---|---|---|
| Gladiolus | 60–90 days | About 4 inches | 4–6 inches |
| Dahlia | 8–10 weeks | 4–6 inches | 12–24 inches |
| Lily | Mid to late summer | 6–8 inches | 8–12 inches |
| Begonia | 10–12 weeks | 2–3 inches | 8–12 inches |
| Allium | Late spring to early summer | 6–8 inches | 6–8 inches |
If your goal is same-season color, summer-blooming bulbs are often more reliable than late-planted tulips.
5. Caring for Tulips After They Bloom
Good post-bloom care helps tulip bulbs store energy for next year. The most important rule is simple: do not remove green foliage too early.
Deadhead the Flower
Once the tulip flower fades, remove the spent bloom. This helps prevent the plant from spending energy on seed production.
Leave the Leaves
Keep the leaves in place until they turn yellow and wither naturally. The foliage is still photosynthesizing and sending energy back into the bulb.
Store or Leave Bulbs in Place
Once foliage has completely died back, you can leave bulbs in the ground if your climate and soil suit perennial tulips. You can also lift bulbs, dry them, discard damaged ones, and store healthy bulbs in a cool, dry, ventilated place until fall.
The same “wait until the plant finishes its job” principle applies to many garden flowers. For more garden-waste handling ideas, see how to compost cut flowers.
Post-Bloom Rule
Remove the faded flower, but keep the leaves until they naturally yellow. Green tulip leaves are feeding next year’s bulb.
6. What to Do with Wilting Tulip Stems and Leaves
After tulips finish blooming and the foliage yellows, you will have spent stems, leaves, and petals. If the plant material is healthy and untreated, it can become part of your compost loop instead of going to the landfill.
Avoid composting diseased tulip material, moldy bulbs, chemically treated flowers, or plant waste with obvious pest or disease problems. Healthy petals and leaves can be composted, while thicker stems may take longer to break down.
How GEME Fits the Garden Loop
GEME Terra II is a real microbial kitchen composter designed for continuous food-waste processing and real compost output for soil blending. For soft garden material, such as healthy petals and leaves, it can help integrate seasonal garden waste into a daily composting routine. More fibrous stems may need more time.
The practical benefit is not just convenience. It is the loop: spring flowers become spent plant material, spent plant material becomes compost base, and compost base supports future soil.
To understand why this is different from dry-and-grind food recyclers, read real compost vs dehydrated food waste. For what can and cannot go into an electric composter, see what you can put in an electric composter.
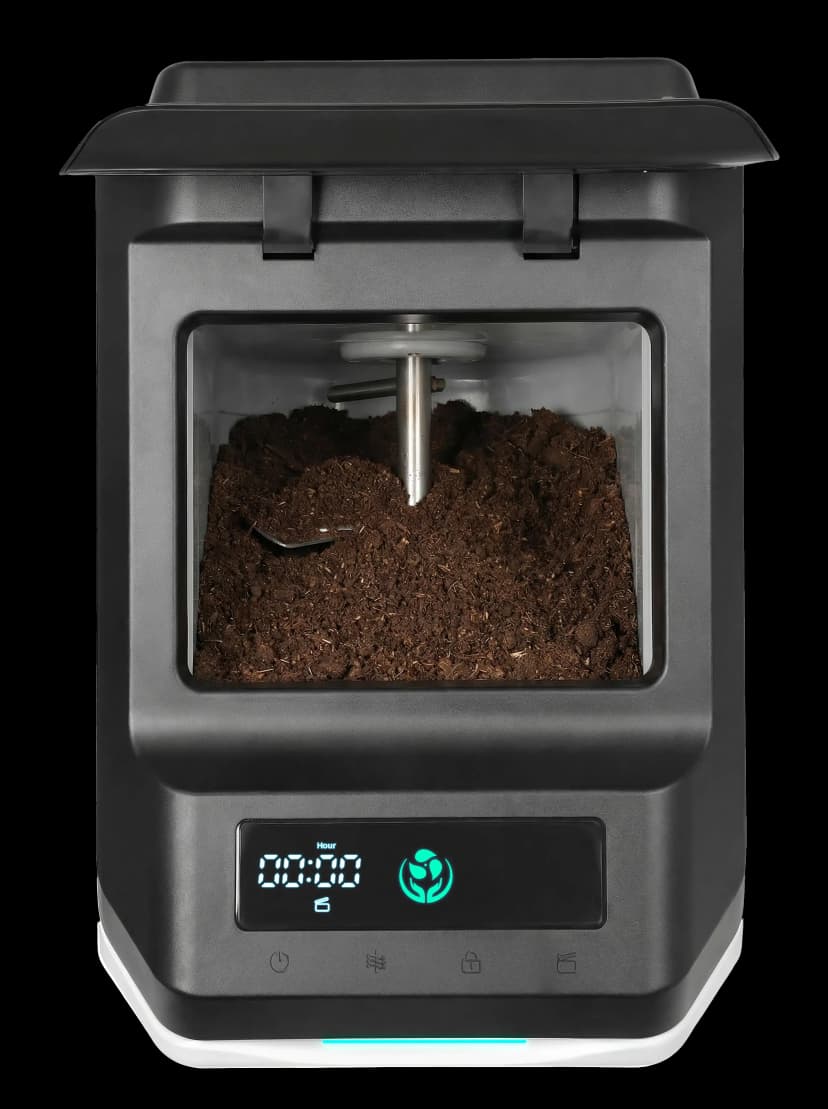
From spent blooms to soil support.
Close the Garden Loop
Use GEME Terra II to turn everyday kitchen scraps and healthy spent plant material into real compost for future garden soil. Blend with soil before plant use.
Real composter. Real microbial composting. No filter replacements.
How to Use Compost from Spent Tulips and Kitchen Waste
GEME output should be treated as a compost base for soil blending. Do not use concentrated compost as a pure potting medium or press it directly against tender roots.
- Screen out large unfinished pieces and return them for continued composting.
- Blend finished material with soil before use.
- For potted plants, a common guide is about one part compost to eight parts soil.
- Keep compost away from plant stems and crowns.
- Water gently after application.
For a deeper use guide, read how to use GEME compost safely in soil. If indoor compost odor is a concern, this guide may also help: how to reduce odor in indoor composting.
Like garden compost: screen the big pieces, let them keep composting, and use the finished material as a soil amendment rather than a pure layer.
7. FAQ
Can you plant tulips in the spring and still get flowers?
Sometimes, but it depends on whether the bulbs received enough cold exposure. Ordinary tulip bulbs planted in spring may produce foliage first and bloom the following year. Pre-chilled bulbs or forced bulbs offer a better chance of same-year flowers.
When is the best time to plant tulip bulbs?
The best time is usually fall, when night temperatures are cool, and the soil is not frozen. In colder regions, that may be September or October. In milder regions, it may be November or December.
How deep should I plant tulip bulbs?
A common guide is to plant tulip bulbs about two to three times as deep as the bulbs are tall. For standard bulbs, that often means about 6 inches deep.
How far apart should tulip bulbs be planted?
Large tulip bulbs are usually spaced about 4 to 6 inches apart. You can plant in clusters for a fuller, natural look.
Do tulips come back every year?
Some tulips, especially species tulips and Darwin hybrids, are more likely to return for several years. Many modern hybrids are treated as annuals because the first bloom is often the strongest.
What should I do with tulip leaves after flowering?
Leave the foliage until it turns yellow and dies back naturally. The leaves help feed the bulb for the next season.
Can I compost tulip leaves and petals?
Yes, if the plant material is healthy and not chemically treated. Avoid composting diseased plants, rotting bulbs, or material with obvious pest problems.
Can GEME process spent tulip foliage?
GEME Terra II can process soft, healthy plant material such as petals and leaves as part of a composting routine. Fibrous stems may take longer, and large unfinished pieces can be screened out and returned for continued composting.
Conclusion: Plant the Bulbs, Then Complete the Cycle
Tulips reward patience. Fall planting gives the best odds, but spring planting still has value if you choose healthy bulbs, plant them correctly, and manage expectations around same-year blooms.
Give tulips sun, drainage, proper depth, and time. After blooming, remove spent flowers but let the leaves finish feeding the bulb. Once foliage naturally yellows, healthy plant material can become compost instead of waste.
That is the full garden loop: bulbs become flowers, flowers become organic matter, and organic matter returns to the soil.
Final rule: Spring color starts with good planting, but garden health continues with what you return to the soil.
Sources and Further Reading
- RHS — Planting Bulbs
- K-State Research and Extension — How to Plant Tulips
- Ohio State University — Tulipa Planting Reference
- Iowa State University Extension — Selecting and Planting Spring-Blooming Bulbs
- Epic Gardening — Tulip and Daffodil Post-Bloom Care
- GEME — How to Compost Cut Flowers
- GEME — Advanced Compost Application Guide
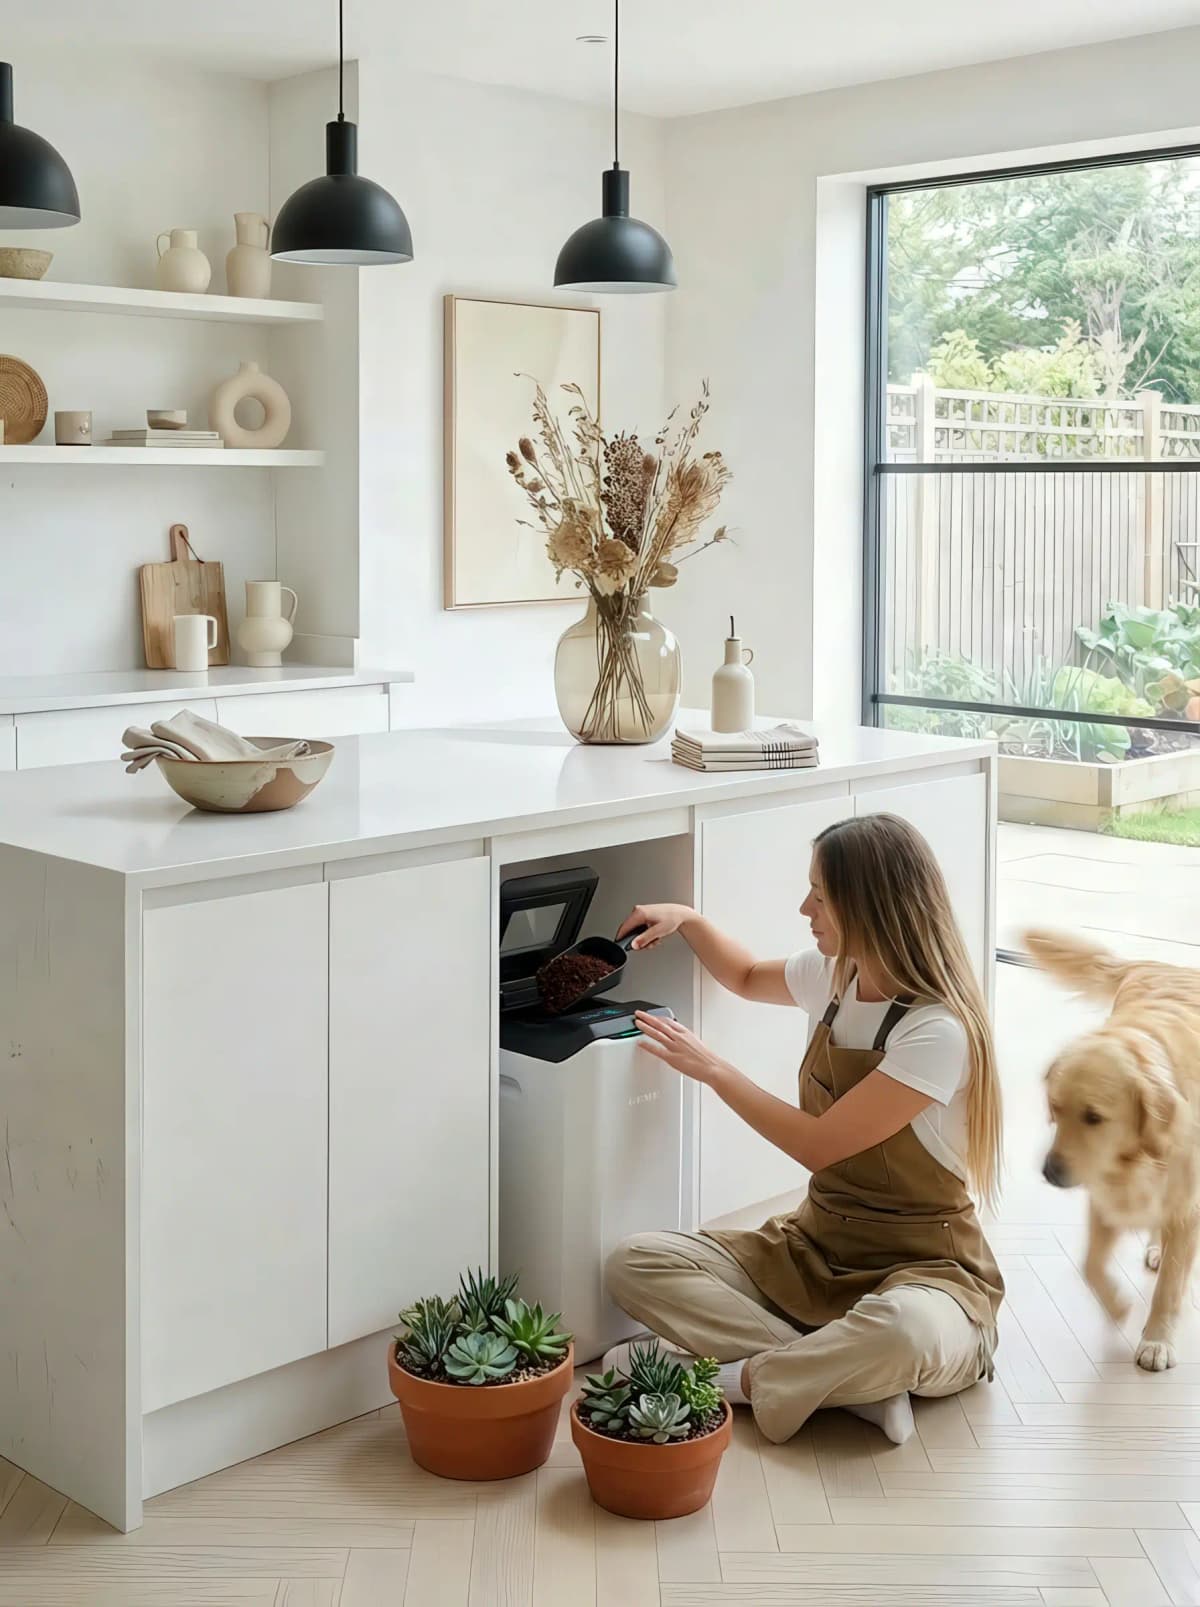
Return organic matter to the soil.
Grow the Next Season
Turn daily scraps and healthy spent garden material into real compost for your next round of planting.
Real composter. Real microbial composting. No filter replacements.


Laat een reactie achter
Deze site wordt beschermd door hCaptcha en het privacybeleid en de servicevoorwaarden van hCaptcha zijn van toepassing.